Jewelry Display Case and Armoire: Bookcase Upcycle

Back in January, I was eating breakfast with my parents and talking about my make-up organization project (you can read about it here) and how I really needed to figure out a way to better organize my jewelry. My earrings were a mess--I couldn't find the other half of the pair and couldn't even see what I had. My necklaces were tangled, and I thought I lost most of my rings. My parents suggested that I use the space in my one second/guest bedroom and utilize it. I thought that was a great idea, but how would I do that? I like things neat, clean, and pretty.
When I got home that afternoon after doing errands, I looked over at the one side of my garage (yes, it is full of stuff, unfortunately) and saw this old 90s bookcase with glass doors that I used for all my Baby-Sitter Club books when I was a little girl, and my parents gave me, thinking I could upcycle it into something to use in my house. I had a few initial ideas of using it as a display case for unique vintage items in my office but wasn't sold on it, so I never got around to doing it. Then, inspiration hit me--why not use it for my jewelry?! I could paint it and purchase some cute jewelry display items to display and also store my jewelry. It would be functional storage but also a great furniture item in my bedroom.

My before picture
So, as you can see, it wasn't bad looking but definitely a little outdated. Unfortunately, the glass could not come out of the doors, so I had to tape over all of them with painter's tape. In addition, the doors were so stuck in the sides, I had a difficult time removing them. Since I was working on this project on my own and with no assistance, I did not want to risk forcing them out that would cause the glass to break (and cut myself) or cause the door to break. Since this is an older and outdated piece, I really did not not want to risk breaking the glass and damaging the doors and be unable to find a replacement or cause an extra step to this project. As a result, I had to do it the hard way by painting areas in sections and taping off a ton of stuff as I went along. Because of this, I had to let paint completely dry before putting painter's tape on it or moving the doors around. This caused the paint job to happen in steps, and it took me approximately 3-4 weekends (I was too busy during the week to paint) to complete the paint job.
Below are the steps I took to complete the project. Like any paint project, the prep work is sometimes the longest (and for me, the most annoying) part of the process but is absolutely necessary if you want a nice piece at the end.
STEPS:
1) Before I even taped off anything, I went ahead and took an electric sander with medium grit sandpaper and sanded the entire piece. This is not a veneer and is real wood, but the wood was stained. I learned to always do this before painting, as it just allows the paint to go on more smoothly and take out any imperfections. There is probably a lot more you can do, and I know people even sand between steps, but I didn't feel like I needed to do on this on this specific piece.
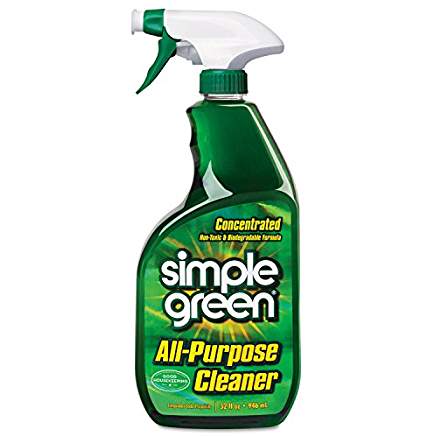
2) After sanding, I went ahead and wiped it down and cleaned the wood with Simple Green (all my products linked below). This removed any residue from sanding and also takes away any dirt. This bookcase had been sitting in my garage for a couple years, so it definitely needed a clean. I also cleaned the glass with Windex and a paper towel.
3) After cleaning, I taped off all the glass. The tape stayed on the glass until the end. Then I went ahead and taped off anything I felt that could possibly be touched by paint. Since I used two paint colors, this was especially important. I taped off pieces of wood on the bookshelf that were NOT going to be painted that color. I did this throughout the process to keep it as clean as possible. This isn't foolproof--Paint still can seep under the tape, but it does prevent any major issues. In addition, I did not love this painters tape. It did not come off easily on the tape roll and was difficult to remove at the end. Oh well--it just took some patience and touch-ups.


Another shot of before
STEPS CONTINUED
4) Once all those steps were completed, I started painting. Most of my furniture in that second bedroom (post to come!) is antique or vintage furniture that has been up cycled. I stayed with the same colors and color scheme. I painted the interior of the case with Journey's End by Behr, a light blue, and the rest of the case in the Ultra Pure White by Behr in their Premium Plus Ultra in Semi-Gloss. For furniture, I often use a semi-gloss in order to keep it easy to wipe down and clean. Since I will be going into the case often, I wanted something where fingerprints will not leave dirty marks. I have used chalk paint and milk paint before but have not always loved the end result, especially as I'm not always looking for a shabby chic piece. I just stayed with latex paint on some of these pieces.
5) As I mentioned above, I did the painting in steps, due to the structure of the piece and use of two paint colors. I let each coat and step dry completely in between coats and steps, causing this project to take much longer than I anticipated.
6) After all the paint was done, I took the tape off the glass and bookcase and went ahead and did some touchups with small detail brushes. This also took some time.
7) I replaced the knobs with crystal knobs to match the decor in my room! Then I moved it upstairs!
During Touch-Ups and before I placed jewelry displays in there
STEPS CONTINUED
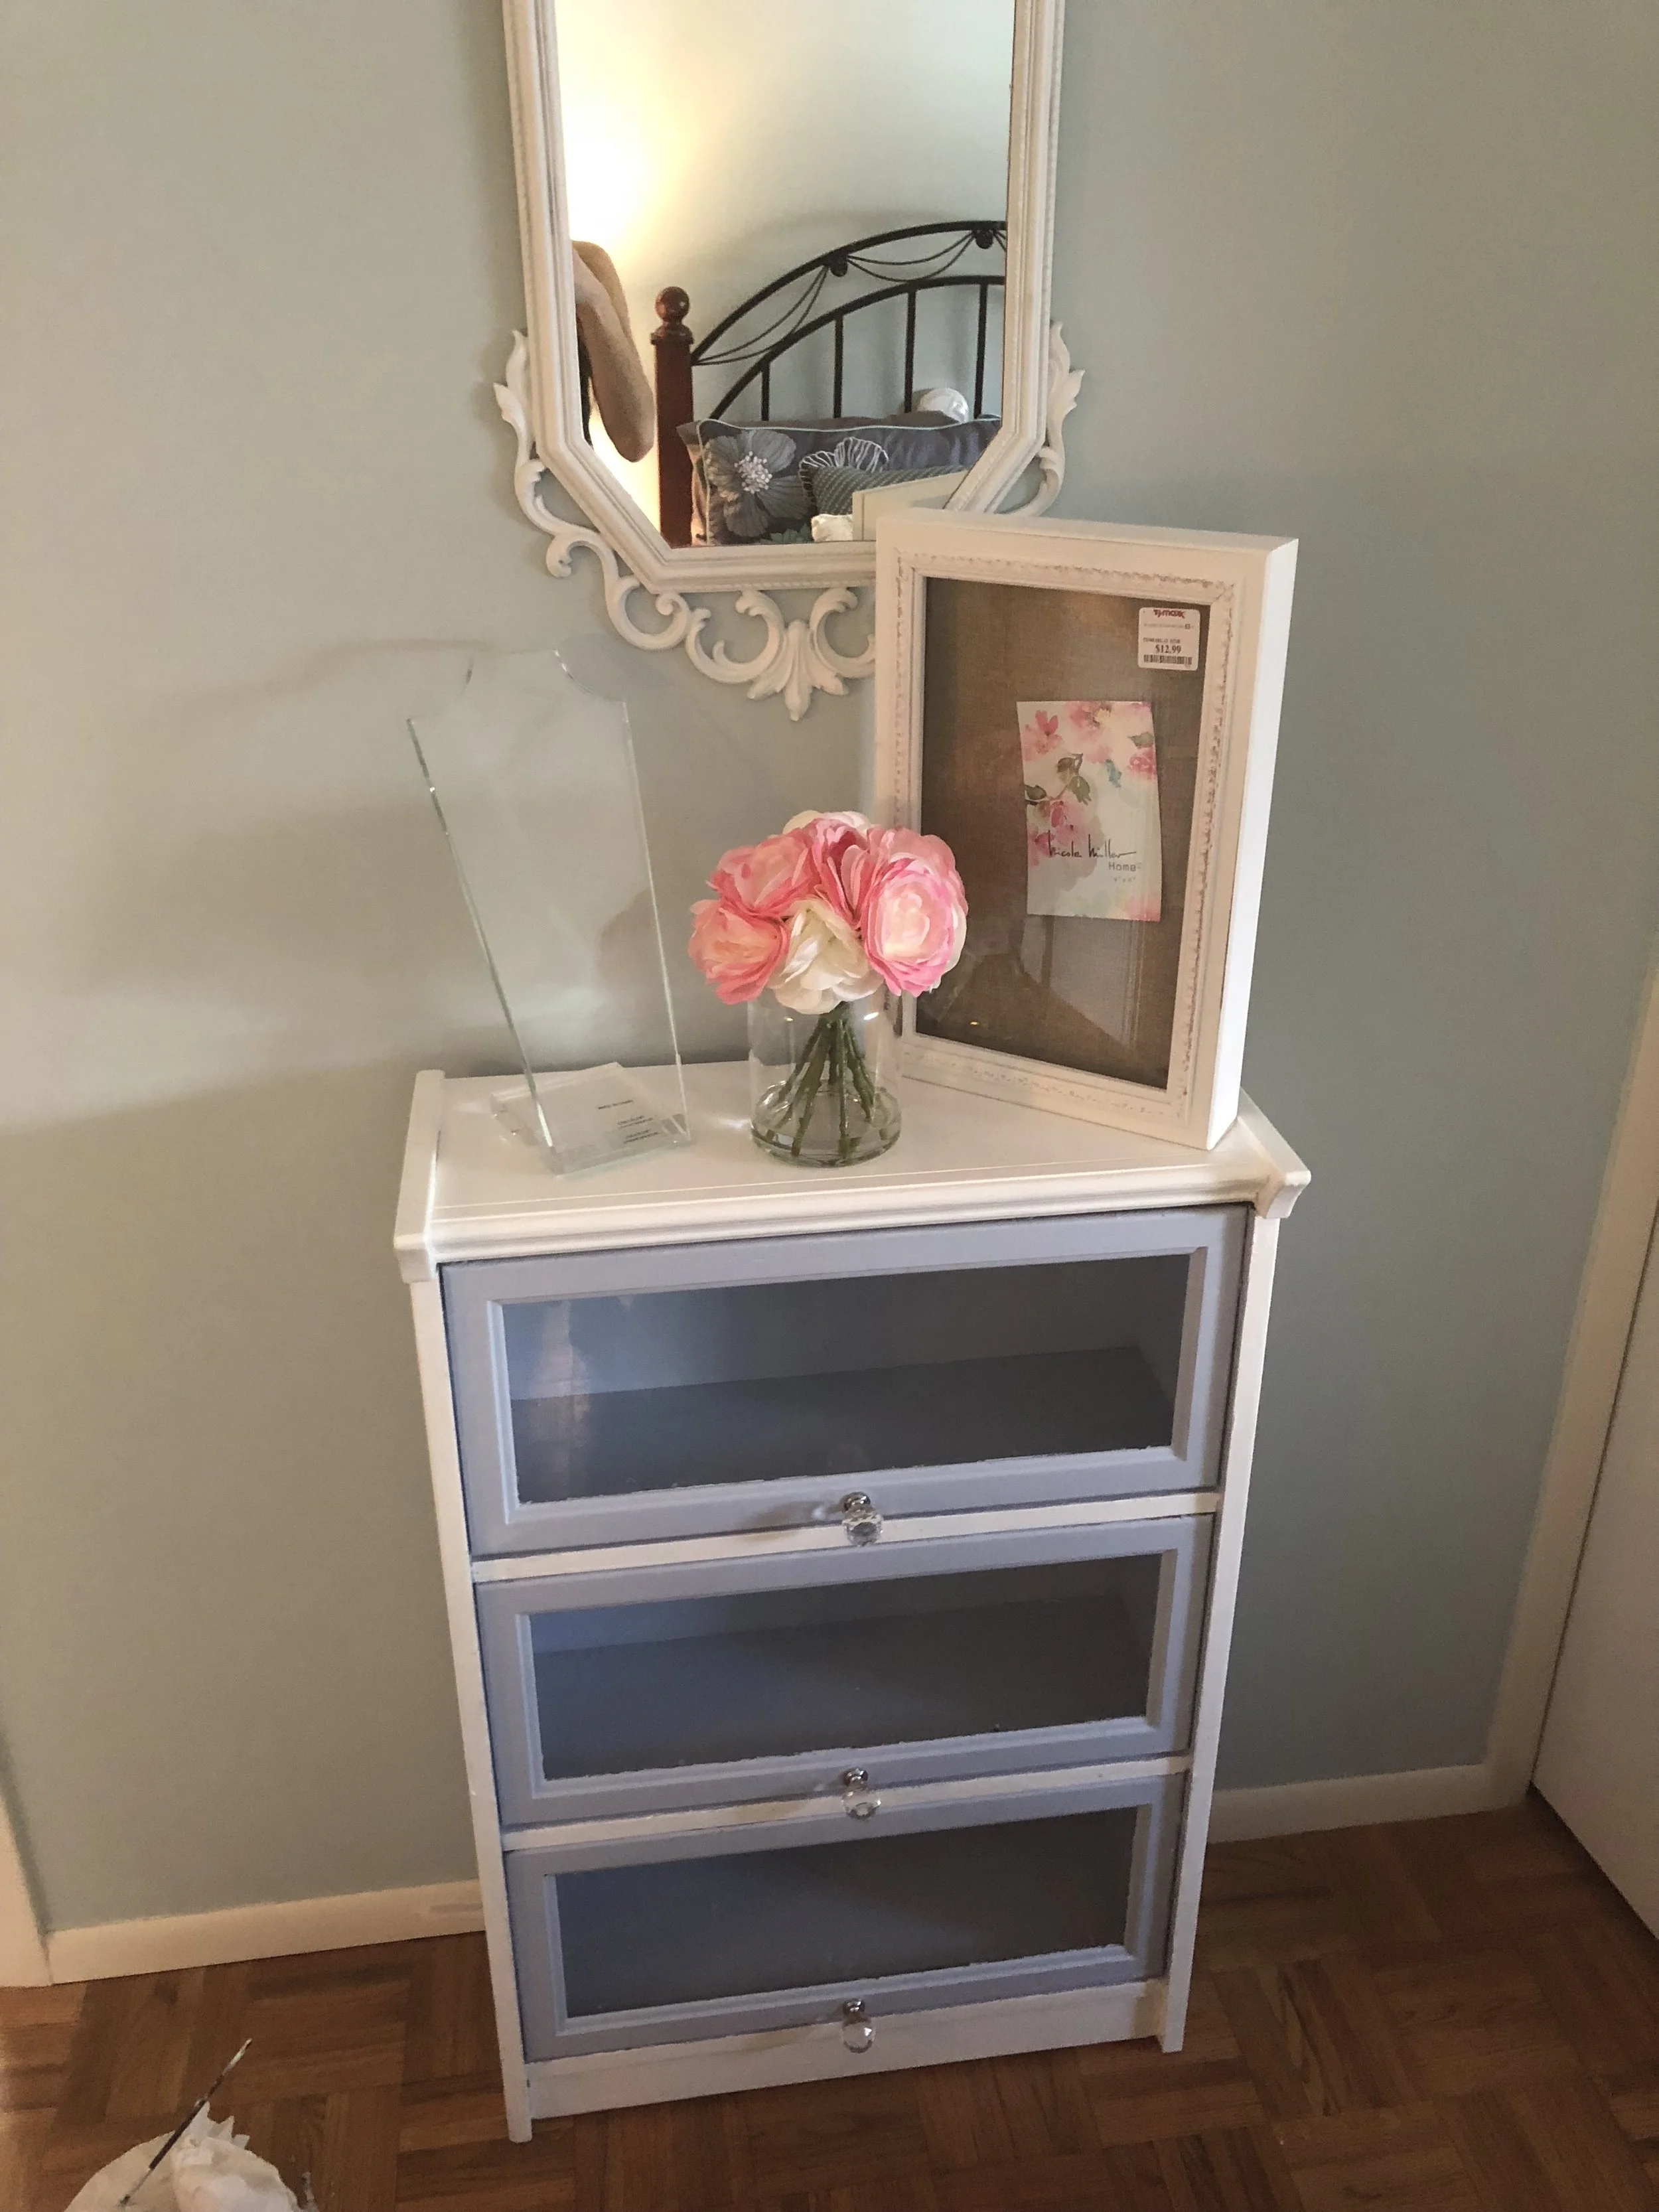
8) Next, I placed a few items that I got at TJ Maxx on top of the case, including an earring display case, a necklace display, and a pretty pop of pink flowers (I have pops of pink throughout this room).
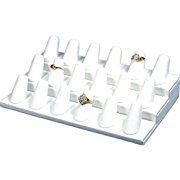
9). I ordered some jewelry displays online, which consisted of necklace displays, bracelet racks, ring displays, and little storage. As much as I wanted to display necklaces, the ones I bought were too small for my necklaces, and other ones were too tall for my case. Even though it would be pretty, I also need functional storage. In the end, I went with rings, bracelets, and earring storage!!


See the items that I used below!