Tips and Tricks for a Custom Electric Fireplace

One thing I hate is unfinished house projects, but let’s face it, I just have way too many of those right now! I finally decided to tackle one unfinished project over the weekend and given the cold weather yesterday, I figured it was the perfect time to do so.
When I moved into my house, Walter, the original owner, left me pieces of furniture, which included this electric fireplace in the formal living room on the main level of my home. Because I liked how it looked, I decided it needed to stay in there to create a sense of ambience. As I started to continue to work on areas of my home, I wanted to keep the fireplace but knew the dark color just wouldn’t work in my home any longer. I even thought about selling this one and getting a whole new unit; however, you know my solution to everything—paint it!

So soon after all the wallpaper was gone, painting complete, and carpeting tore up, it was time to paint the fireplace white. I used my normal go-to products: Zinsser Prime Coat Primer and Behr Ultra Paint in Ultra Pure White in a Semi-Gloss (for durability and easy cleaning. After taping off the front, the priming and painting went super quickly. What an easy and quick process for such a transformation! You don’t have to use white—you can use any color that you think works for your room; however, you can never go wrong with Zinsser PrimeCoat Primer! It is the key to ALL of my painting projects.

Here is a quick glimpse at the fire place after being painted and prior to the tile!
Although that was the main part of the project, I knew since the beginning I wanted to finish out around the surround of the fireplace. Not only did I think it would create a custom look, I also wanted to cover up some of the paint marks that seeped over (I am a messy painter!). Since it wasn’t an emergency, I kept putting it off, but since being home from quarantine, I figured this was a quick and easy DIY that I could complete and wouldn’t break the bank.
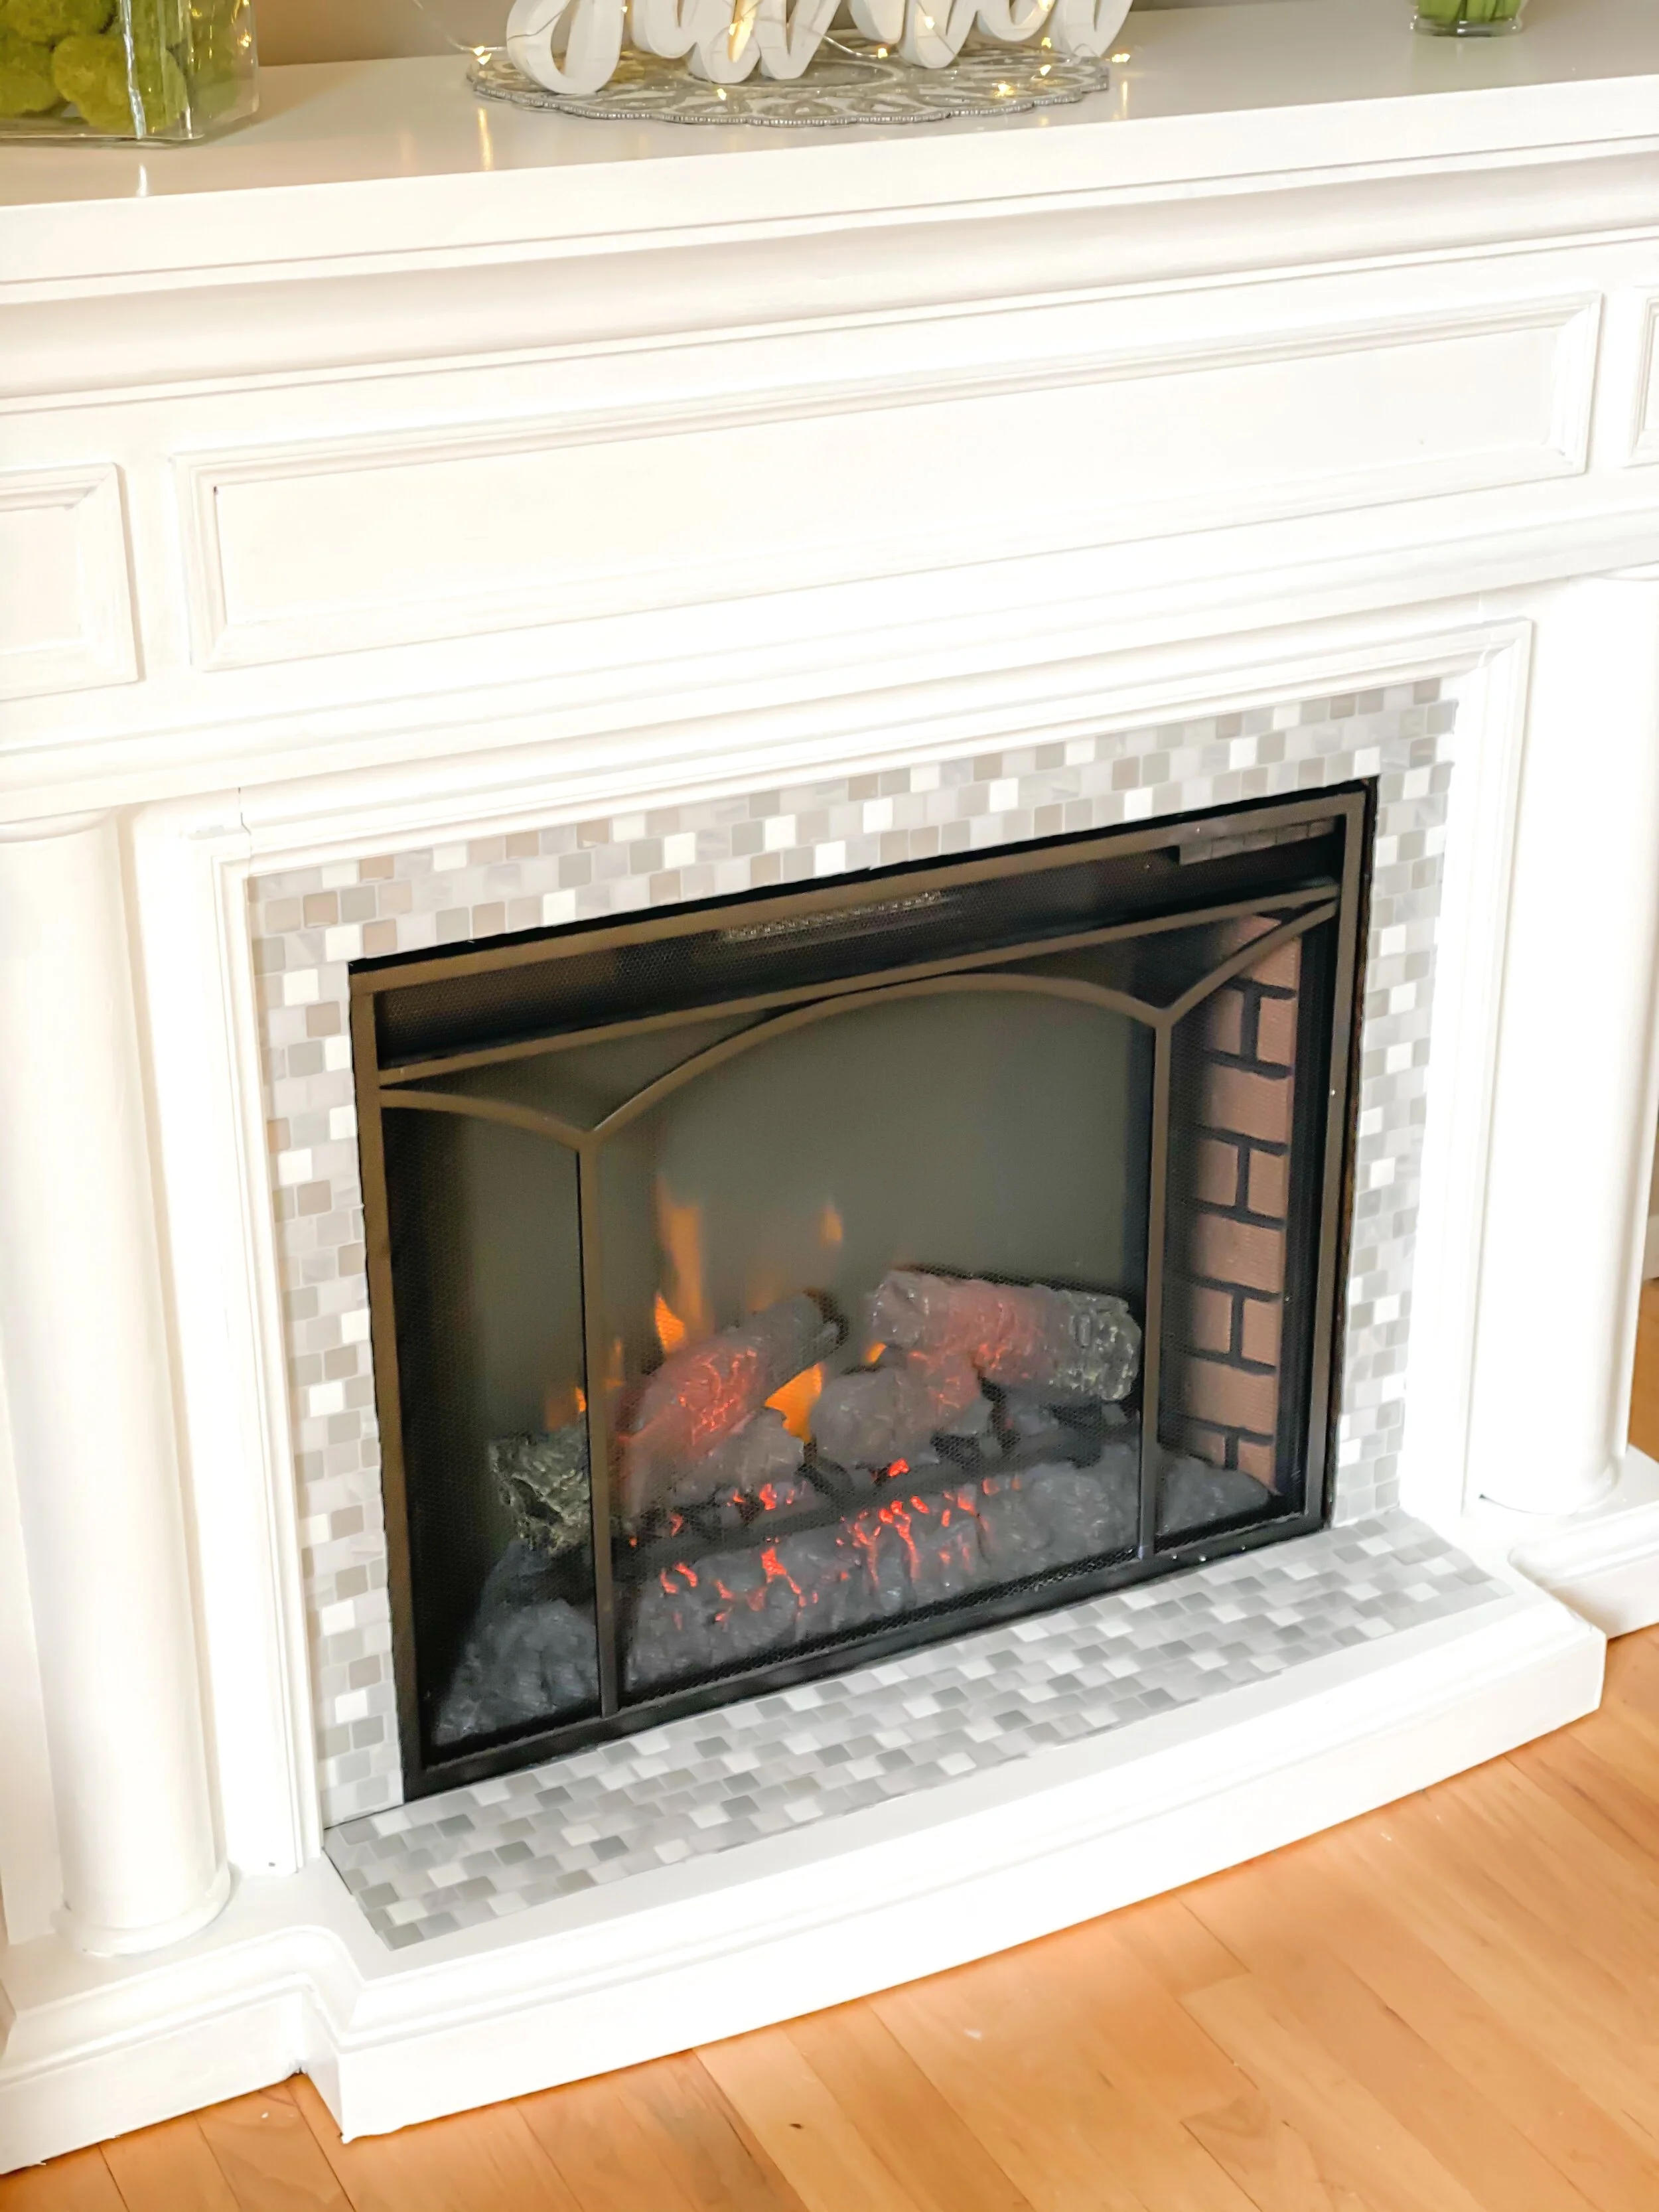
I was able to go ahead and pick up SmartTiles from Home Depot, which is what I wanted to do for this project. I have been curious about using this product for my kitchen backsplash and thought this was the perfect way to give it a try before I tackled something larger! SmartTiles are a stick on backsplash that look and create the illusion of tiles but are not tiles and make the project less messy and easier to complete. No grout or cutting glass tiles!

This part was also super easy and went quickly! The hardest part was getting the cuts and measurements, but thankfully, I did not have anything too complex. All you needed to cut into the smart tiles is either an exacto knife or box cutter and ruler. I think if I do decide to go this route on my backsplash, I would even consider using a paper cutter for even more precision.
Within an hour, I was done! This was probably the simplest, quickest, and easiest DIY I have completed yet. What do you guys think?

Shop all my products here!
