How I Created (and Upgraded My Kitchen) a Farmhouse Backsplash for Less than $100 with Paint and Stencils

Another week of vacation starts another house project! About a year later, I FINALLY decided to tackle my kitchen backsplash project. If you didn’t catch it, last summer around this time during my vacation, I decided to paint my beige laminate countertops with the marble effect (you can check out that blog post here). Once I did that, I knew my drab backsplash had to go. I will admit, it wasn’t terrible—basic square tiles with a beige and blue theme. I lived with it, but it ultimately wasn’t what I wanted. Over the course of the next year, I debated on what I wanted to do. I really didn’t want to tear out the backsplash, as I was afraid it would lead to more problems and potentially damage my cabinets and countertops. I looked into a variety of different tile options (from peel and stick to sticker tile) but was not sure that was the direction I wanted to go either. After much, much research, I knew the cheapest and somewhat easiest option would be PAINTING my tile. If you know me, I LOVE painting anything and everything, as I think paint is the biggest difference maker in almost anything you do. I just didn’t want to paint my backsplash white (too much white—I needed some contrast) and did not want to go with gray or blue, as I thought it might make the square tile look either too sterile or outdated. After looking so much on Pinterest (yes, I still LOVE Pinterest), I fell in love with the idea of STENCILING your tile! If you haven’t noticed, pattern tiles are making a comeback, and stencil has become a big trend. My biggest inspiration was the Blessed_Ranch’s stenciled backsplash that I originally found on Pinterest (and am now following on Instagram). Be sure to check her home out! So much inspiration. See below for my kitchen before both countertop AND backsplash upgrades! I still have so much to do, but it’s coming together!

Because I have done sooooo many painting projects, I pretty much had all the supplies on hand for painting the backsplash. The only things I really needed was the right pacing for backsplash. I decided to use the Rustoleum Floor Paint, as it was a kit with all the needed supplies for wear and tear and came with a variety of color options. I thought about the doing the Rustoleum Tub and Tile Kit, but with only three colors, I didn’t like the options for stenciling (I might use this on my kitchen sink though!). You can use latex with a primer and a separate epoxy coat, and I have also seen people use chalk or milk paint! I just decided the kits were the easiest way to go, as I would get all durable products and everything in one and still probably pay the same price. I picked up a Floor kit in Ultra White and had the staff at Home Depot mix another kit for Pearl Gray (which was the color for the stenciled pieces). You can purchase all my products I used here:

After I got the products, the rest of the project went quickly and easily and like many of my projects. After thoroughly cleaning the backsplash with a mix of Dawn dish soap and a sponge (to get all dirt and grease off), I taped off all areas using painter’s tape. I then painted the backsplash with the Ultra White for the base (two coats) and let it dry for 48 hours. You can probably only let it dry overnight, but I painted the base white on Friday and did not stencil until Sunday.
I used one of the stencils from the pack above that I purchased from Amazon (I was torn between 4 or 5—there were a lot of good options in this pack!). This probably took the most time (about 2.5 hours for my small backsplash space). It was not a TON of time or a full day by any means, but I would plan a morning or afternoon, depending on how much you have to stencil. I let it dry over night and was able to quickly apply the epoxy topcoat (which comes in the kit). Although it needs to cure, unlike my countertops or floor, I am not setting any thing really on it, so it was easy to get back to normal in my kitchen.
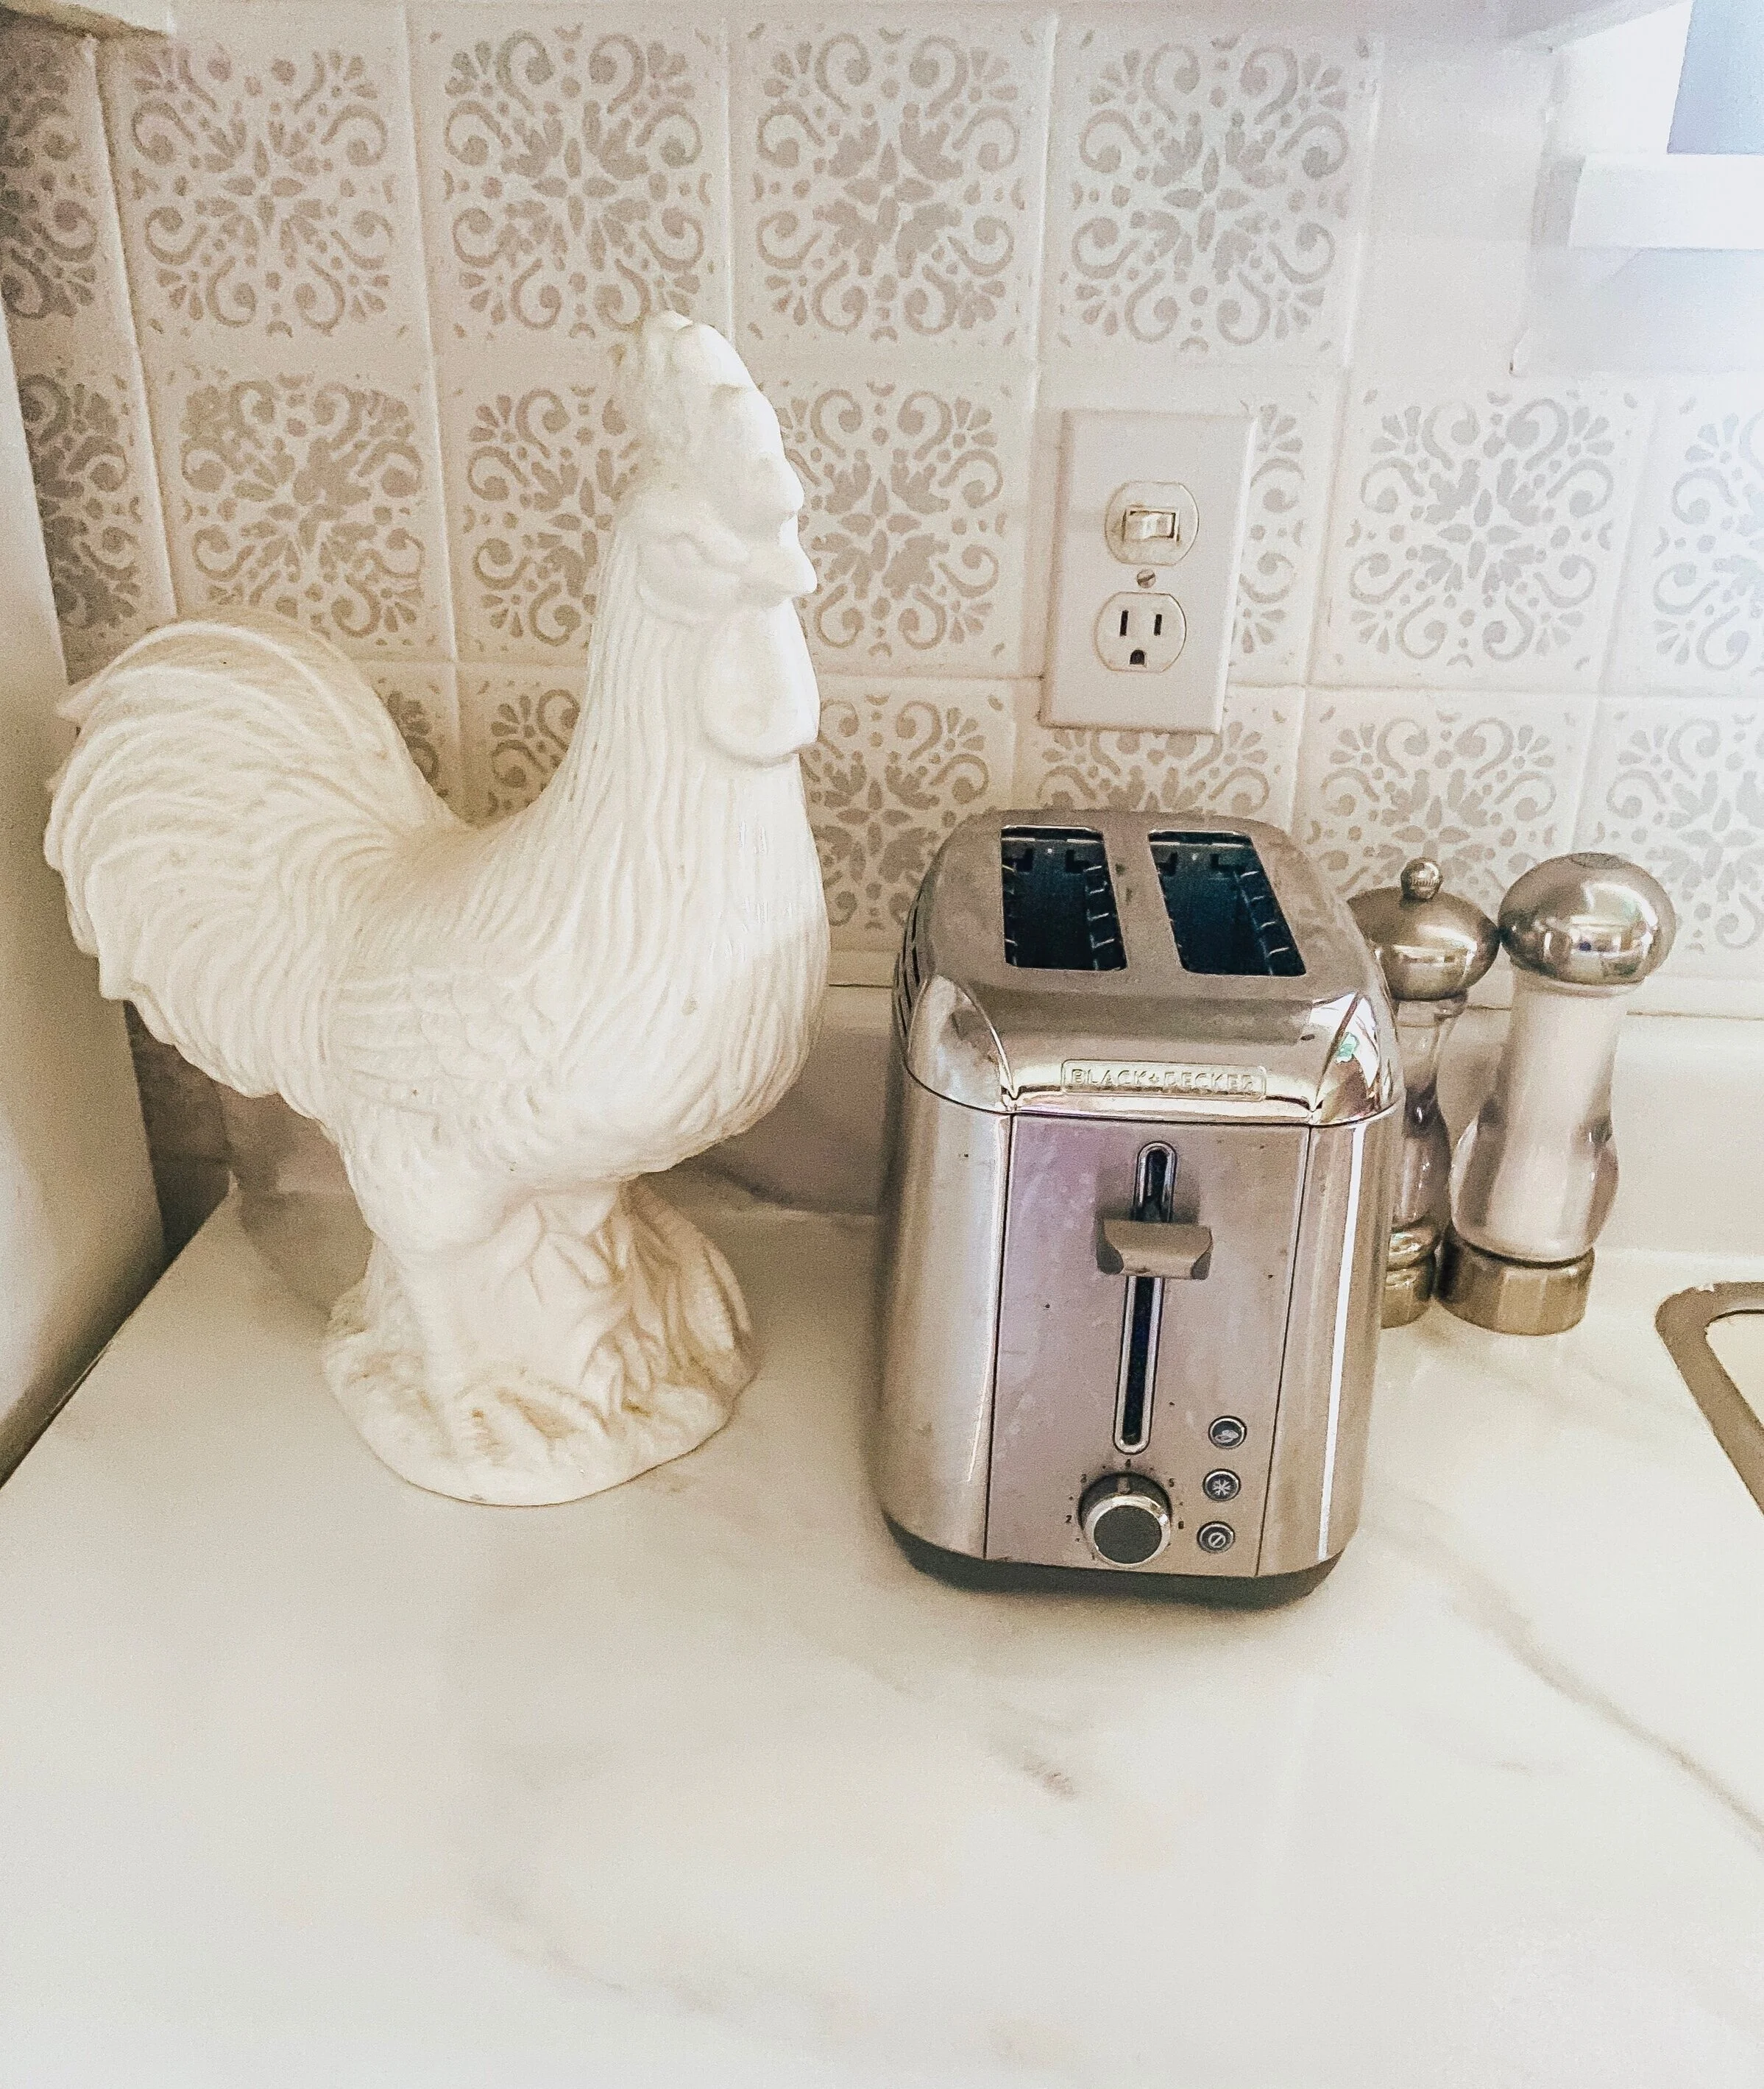
My kitchen area with the backsplash is small but check out my photos below!


So what are you final thoughts? Does this look like a farmhouse backsplash? My next project is the sink and faucet, so stay tuned as to what I do!
Shop some of my decor and kitchen items below: